Looking for a tiny bow crochet pattern? You’re in the right place!
Each toy can be decorated in multiple ways. One of the easiest decoration is a tiny bow. It can be attached on the seam between the head and the body, on the head on the left or right side, or maybe both sides, as you prefer. Follow our crochet tiny bow pattern and make your amigurumi toys even more beautiful and adorable!
Materials:
- Yarn: YarnArt Jeans or Alize Cotton Gold (or any other yarn)
- Crochet: 2 – 2.5 mm, depends on how tight you crochet
- Sewing needle and scissors
Abbreviations:
- mr – magic ring
- sl st – slip stitch
- hdc – half double crochet
- dc – double crochet
Tiny bow crochet pattern:
Create a magic ring, leave a long yarn at the beginning.
(Chain 2, 1 hdc, 2 dc, 1 hdc, chain 2, sl st into the mr) * 2
Pull off the magic ring. Leave a long yarn for sewing.
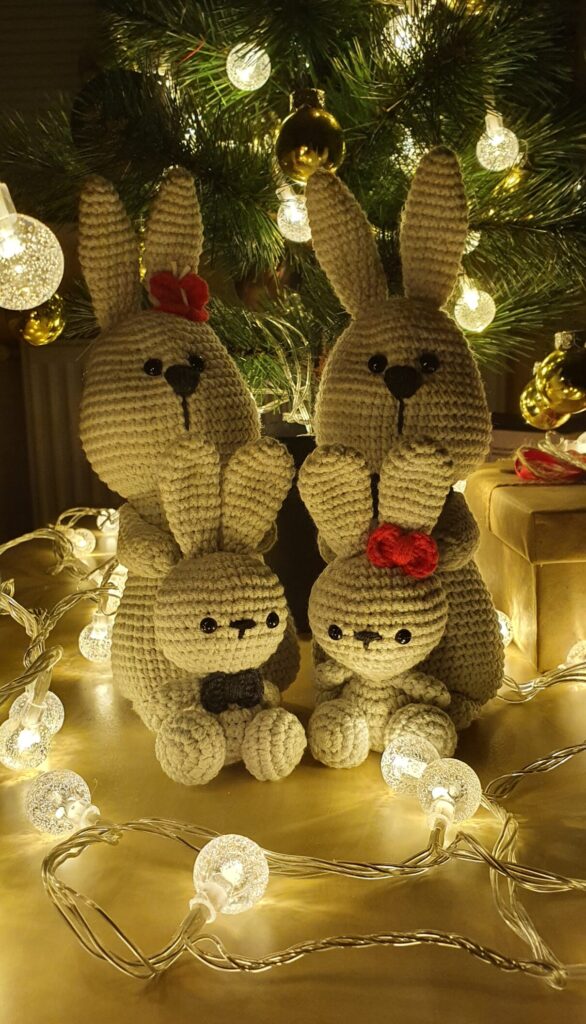
If you want to attach the bow on the seam between the head and the body, then you need to leave both ends of the yarn long.
Make 2 knots to fix both ends in place, then wrap them around the bow (in the middle) as shown in the picture below.
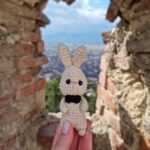
For the tiny bunny I usually wrap the yarn around the neck, then fix the bow by sewing it.
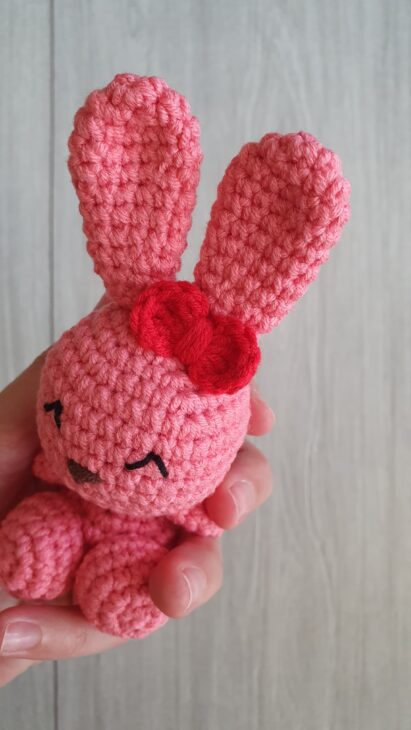
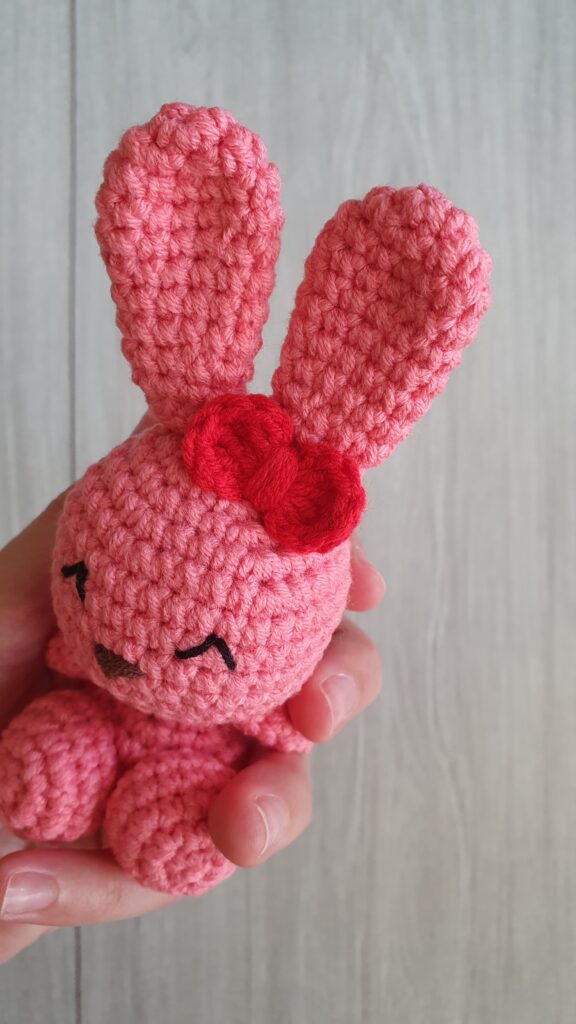
In case you want the Girl bunny look, you can sew the bow between any ear and head. In this case, you will need the yarn to be of medium length.
If it is easier for you or the pattern is not clear you can follow the steps shown in this video:
Hope you like the result. Don’t forget to checkout other great patterns from our collection of amigurumi patterns which are absolutely free!
bow Decorations for crocheted toys
Last modified: February 19, 2024